Tuesday 3 November 2015

What to do with it?

You are always asking "What Can I do with it?" so here are two examples of what one member of the group did with some of their breakdown printed fabric.


These two stab bound books were created from pieces of the fabric we printed in September which had been backed with lightweight paper enabling them to be glued onto the cover boards.  They were given as a present to each of two people and one had nice watercolour paper in it so that it could be used as a sketchbook.


Whilst on the same London trip to deliver the books the same person met up with our former Chairman and they participated in a workshop which resulted in these lovely tealight lanterns.


I am sure you already know, but as a reminder this month's stitch is Pekinese Stitch.

Tuesday 13 October 2015

Every Dog has his Day!

At last I got my chance to produce some cloth using the breakdown printing method ...

Washing day and all the pieces are rinsed, washed in synthrapol, rinsed again, spun and hung out to dry.  The large piece in the background is the dropcloth from the table which has some amazing areas on it, however, I think it might get put into soda ash again and re-used to build up on what is already there.


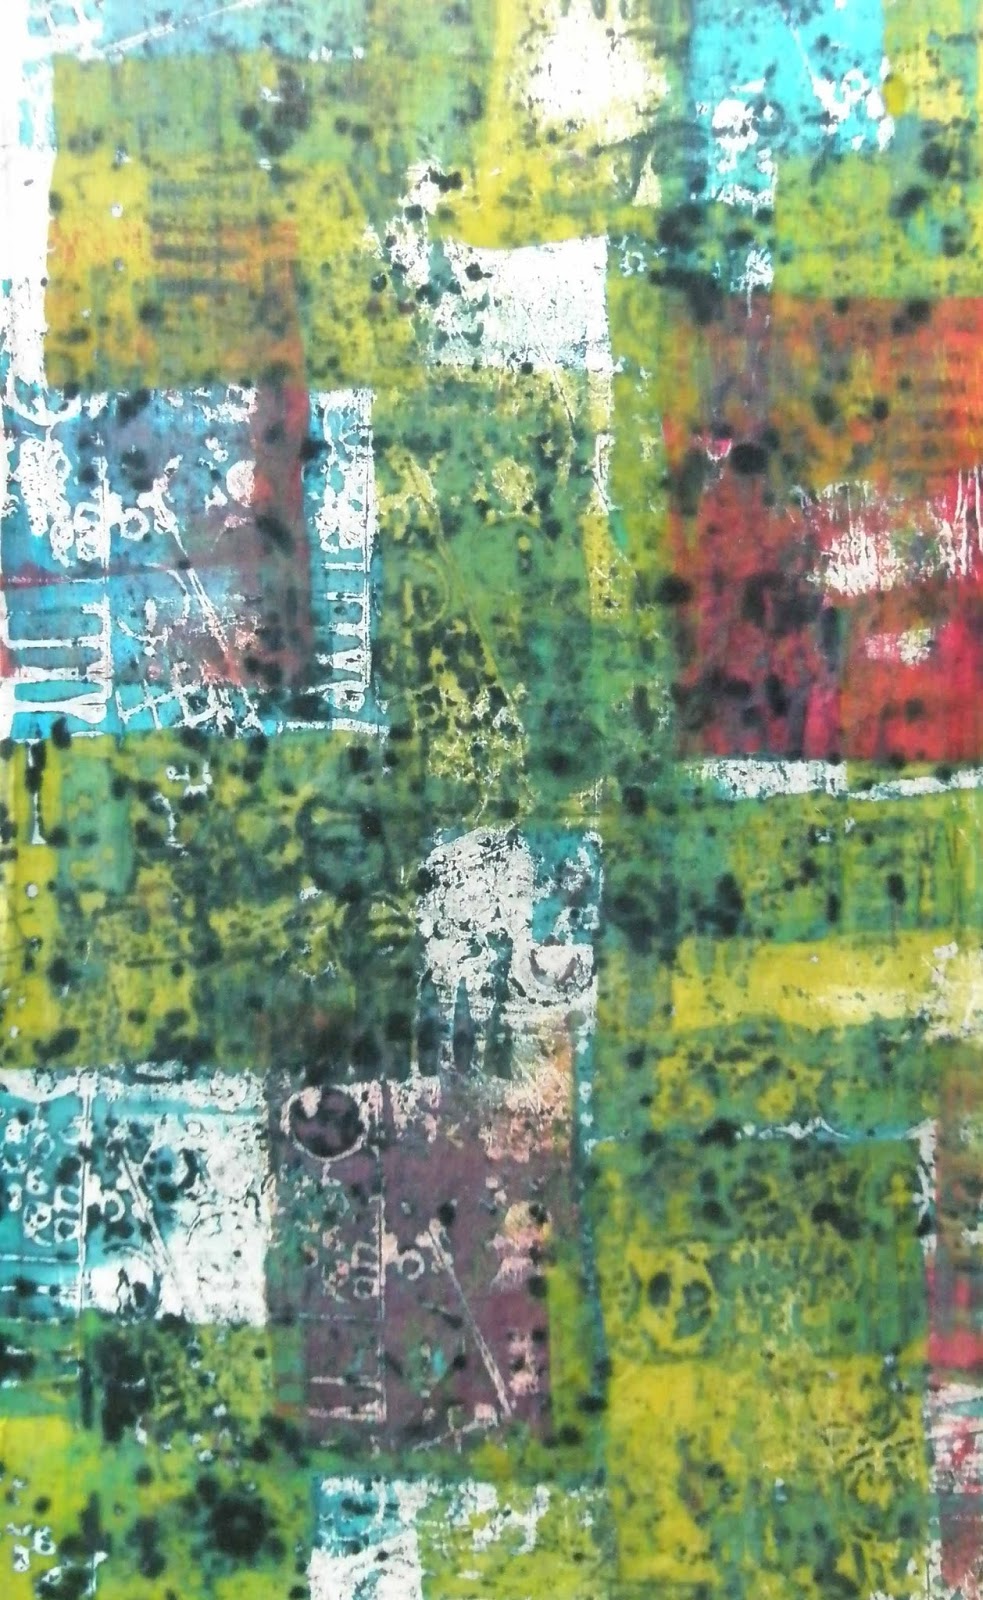
Above is the second screen I printed and towards the end I decided to add some Fire Engine Red to the mix.  A little of the detail below where you can clearly see images made from plastic garden netting, part of a plastic meat tray, a wooden coffee stirrer and good old bubble wrap.


Below is the print from my first screen, which had dribbles of thickened dye paste on it into which I have pressed various items to add more texture.  I think I used turquoise and antique gold on top of the black on the screen.  It is hard to remember as you do get a bit engrossed once you start to print.

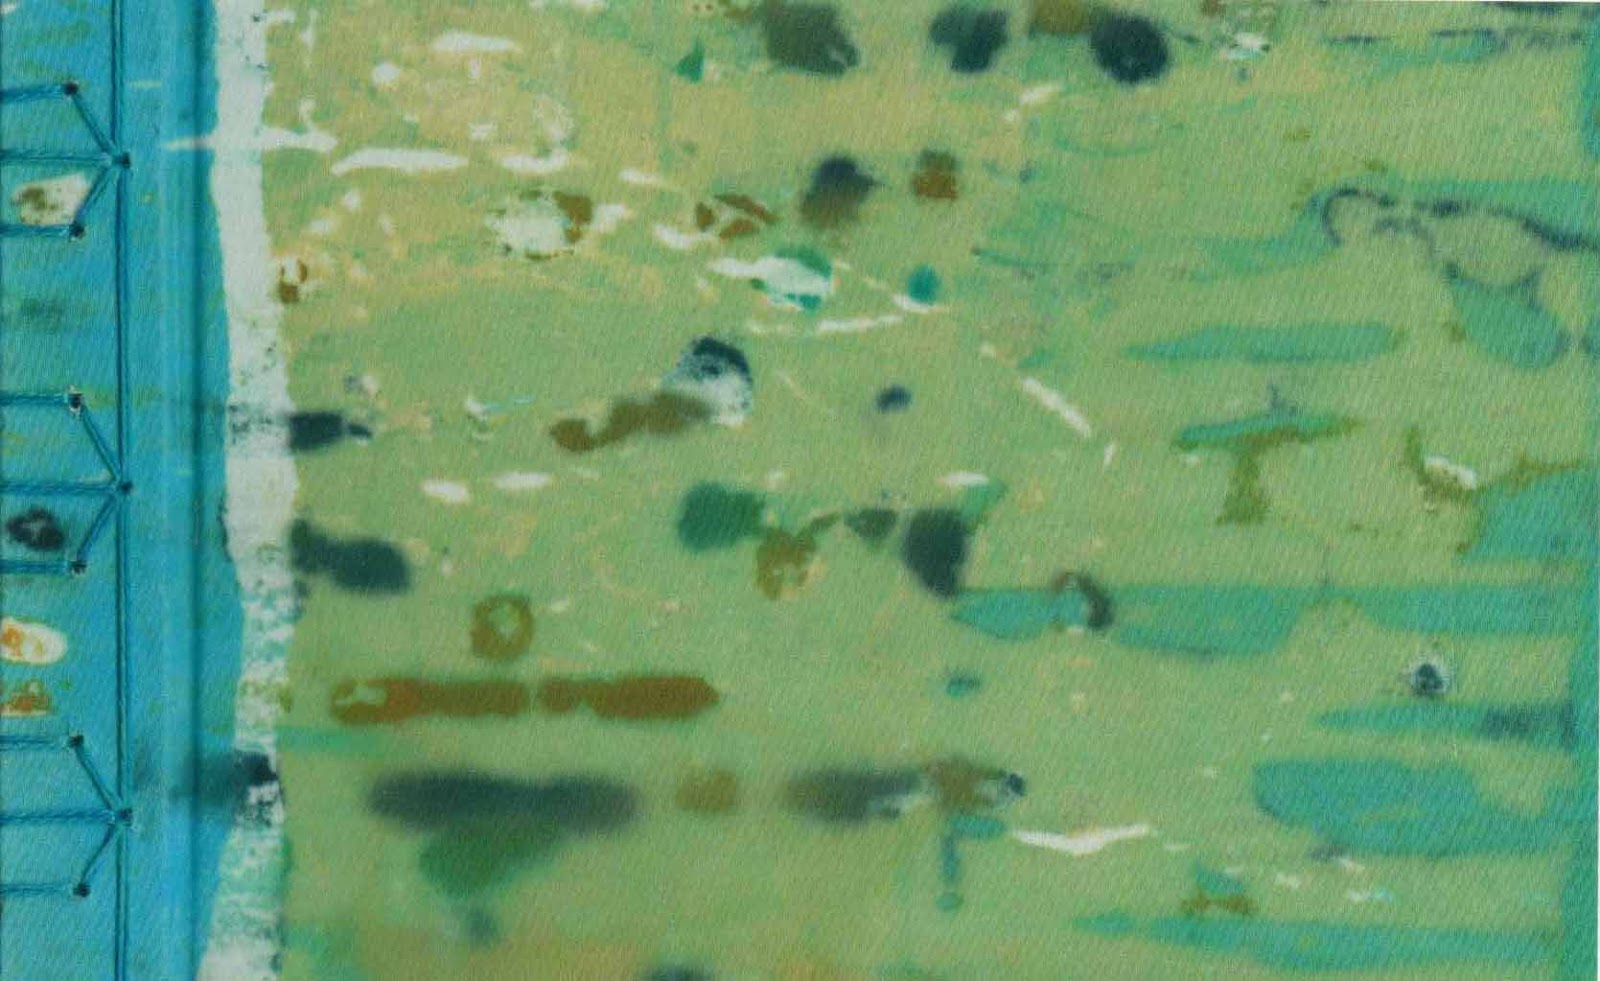
Finally, this is a close up of one of the sections of the drop cloth, which arose from a screen that had been dribbled - but not by me.


The colours do become slightly duller once washed, so perhaps I need to add more Procion dye powder when making the thickened dye paste.


Thursday 8 October 2015

Yet more Surprises!!

Today I spent the afternoon doing some more breakdown printing with one of the Running Stitchers and we had fun.  One thing we have found out is that it is better to print onto a finer fabric.

The bonus was that she also brought her washed pieces of fabric over with her so I managed to take some photographs.

This was the piece that had ferns embedded in the dye

Dye added to the screen using the dribble method


Some closer detail to give an idea of the wonderful effects that just happen

I also found a couple of photos I had taken of the flour resist before it was washed off


Wednesday 7 October 2015

More breakdown printing

Today I had chance to see one of the pieces of fabric that was produced last week and was very impressed.  There are some beautiful images on it and the colours are surprising too.  I think we basically used black, turquoise, emerald green and golden yellow.  I can't wait to see some more of the results.

Wednesday 30 September 2015

Breakdown Printing

Not sure who was having the breakdown - me or the screen.  No, to be fair, it was an amazing experience and I am hoping to have another try very soon.  Below is one of the pieces of fabric produced by a member of the group.  It has to be 'batched' and washed yet so it will be interesting to see what it looks like after that.  Pretty different I imagine.


We had pre-prepared 6 screens and I somehow managed to get through most of the morning before I realised that I should have taken some photographs.  It was too late by then as the fabric that had been done was rolled up in plastic sheeting 'batching'.

We also prepared some flour resist pieces of fabric and used the leftover thickened Procion dye to colour them.  Hopefully next month some of the pieces will be brought along to show off.

On another note, one of our members had a nasty fall a while back and, whilst she has been recuperating, she has produced a rather wonderful piece of work from all the bits and pieces she had accummulated over the years.


Tuesday 29 September 2015

More Flour Resist

Had a third try at this method and have had a bit better success with the thickened dye paste.  I also tried using plain flour as well as gram flour for the resist paste.  Not a lot of difference really.

These photographs are of the same piece of fabric, as it would not fit completely on the scanner glass.

I used various colours of Procion dye:-

    - Turquoise
    - Emerald Green
    - Golden Yellow
    - Black
   -  Fire Engine Red

Some of it was just the remains of the thickened dye left in my measuring jug after decanting it into plastic bottles ready for the breakdown printing session on Wednesday.


There appears to be some lovely bits of pattern here and there, with no particular reason for them.  I particularly like the parallel lines and their interaction with the crackling.

I used a wooden skewer to mark into the dry flour paste.  I also scrunched the fabric up quite a lot after it had dried, and between applying each layer of colour.

Monday 28 September 2015

Screens for Breakdown Printing

I have managed to prepare two screens ready for Wednesday ...


This is the first one, which is A4 in size, has various items stuck into the thickened dye paste and is now slowly drying.  The thickened dye paste is black and I am hoping it will give some other lovely variations in colour once it mixes with the thickened dye paste used for printing onto fabric.


I have used the drip and run method on the smaller square screen in three colours: black, emerald and golden yellow.


Wednesday 9 September 2015

Gram Flour Resist

Example 1
Earlier this week I got round to mixing up some Procion dye powder with Salt and Soda solution to make a colouring medium to add to the gram flour paste resist pieces I have been trialing ready for our workshop on 30 September.

I used two colours - 'Antique Gold' and 'Brown Rose' - and applied it with a 1" foam brush.

You can see the 'Before' and 'After' results above and below.  The darker colouring is the acrylic paint I had applied earlier which I was not happy with.  The dye does seem to work much better, but I am also going to make a couple more pieces using dye thickened with Manutex to see if it gives a better outcome.
Example 2

Tuesday 7 July 2015

Velvet Added


I have now stitched three of the pieces of copper shim onto a scrap of velvet I had lying around.  I put a bit of calico behind the velvet and held it in place with some MistyFuse.  The copper shim has got a piece of black felt stuck on the back.


A piece of dissolvable fabric (Romeo?) was laid over the area of velvet where the metal shim was to hold the stitches on the surface of the velvet.  I used a variegated thread for the one above and a metallic thread for the one below.
 

I used a rust coloured thread in the bobbin which is showing through in places.

Sunday 5 July 2015

A Step Further

Since our last meeting I have had time to play with the bits of metal that we looked at.  I have used a combination of metals - copper and brass shim, plus some tomato puree tube.  I used the ribbler on the brass shim, putting it through twice.

The most successful piece was this one that had been heat treated, freehand embossed on a soft background, then embossing powder was added.  Finally I used two lots of alcohol ink - Rust and Meadow - to further enhance the colour.  I was quite pleased with it.


Wednesday 24 June 2015

Working with Metal 1

Copper Shim

We looked at heat treating copper shim and mesh with a chef's blow torch

Copper Mesh
This can be put through a ribbler and these two pieces have been passed through twice in different directions to create this interesting grid.


Alcohol inks can be added to the surface to provide interesting effects ...


As can be embossing powder in various colours


A glue gun can create an interesting blob which, when reheated, can have embossing powder applied.

All of these pieces can be machined stitched easily onto fabric.

Working with Metal 2


All of these samples are from a workshop several years ago with Ann Burrows.  The piece shown above was jewellery wire wound around a wire frame and then overstitched with a zigzag stitch on the sewing machine.  It is then cut off the frame and applied to a piece of fabric.

A piece of fine copper mesh was first heat treated.  Mica flakes were placed behind it on a base of velvet.  A dissolving fabric sandwich helped to place the fabric securely into an embroidery hoop and also ensured that the stitching remained on top of the velvet pile, rather than disappearing below it.

Again, heat treated fine copper mesh and mica flakes.  It was not nessary to use a hoop for this as there is no stitching over the velvet.  Unfortunately holes developed in the mesh where it had been overheated.

This is a piece of pelmet vilene which has been painted.  Bondaweb was applied to the surface and Gilding Flakes were brushed down with a small paintbrush whilst the bondaweb was still warm.  A piece of dyed scrim was then placed over the top.

 Blue Kunin felt had copper wire stitched into pleats with a satin stitch.  The felt was heat zapped from the back to develop holes and then the surface was painted with acrylic paint into which embossing powder was sprinkled.  The layers were built up, heating it with a heat gun, to produce the coloured and textured surface.
This final piece is a piece of bondaweb that was gently heated prior to adding embossing powder.  This was heated and the layers were built up giving a multi coloured surface which was later applied to a piece of velvet.

Tuesday 23 June 2015

The Two 'R's

Yet more letters ....


Three Fat 'N's

Quite some time ago the members of the group stitched letters to make a banner for the group which could be used when we go to exhibitions.  I have taken photographs of what we made and will post some of them from time to time to show what a diverse lot we are.  I cannot remember who stitched which ones anymore so looks like that could be a good challenge for a future meeting.


Wednesday 27 May 2015

Time for Reflection


Work in Progress from a previous month when we looked at couching


Pieces which have been cut up and reassambled from a previous month's play day


A lovely book cover made by the 'Honorary Member' of our group and also the youngest person


These photographs do not do justice to these two beautiful pieces of crewel work.


Our patchworking member of the group made this lovely cushion.


An inspirational cutting about 'The Roses' produced by Cy Twombly and a very suitable start for a piece of textile work I think ....